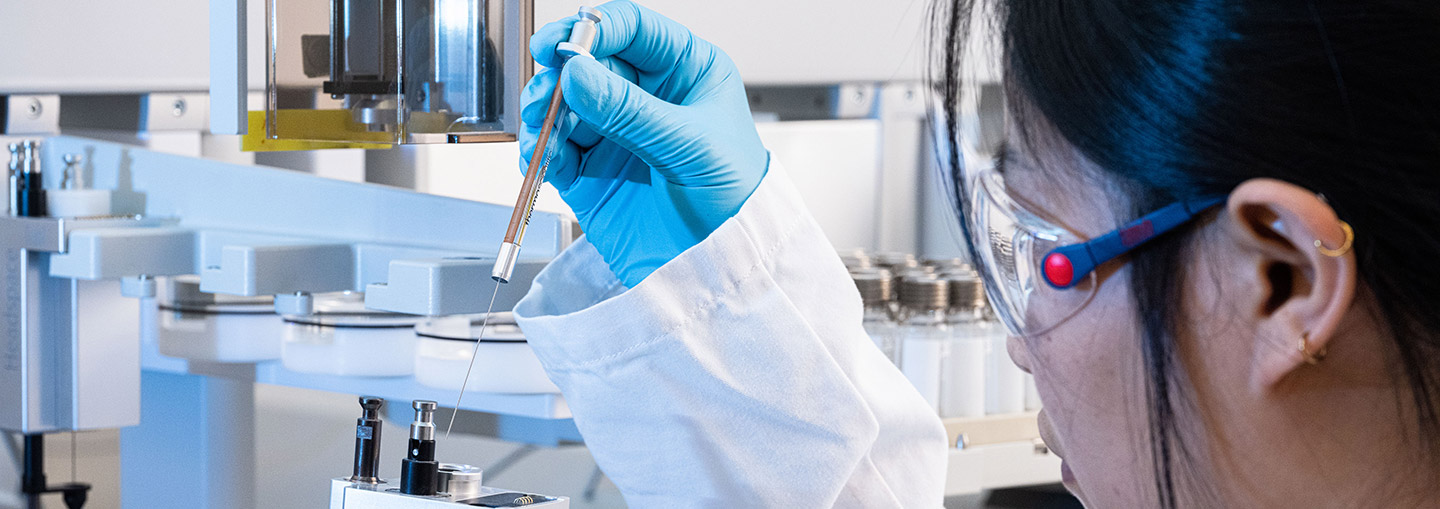
Priming and cleaning instructions for 10 µl metal plunger syringes

General Information and Instructions

•    Before use check the syringe body for cracks 
•    Before use check the needle for damage in form of bends or scratches, damaged needles
      can cause tears in the GC septa, which leads to sample loss or poor peak shape.
•    Always prime a syringe prior to use. 
•    If the syringe doesn’t deliver the desired accuracy, priming the syringe can resolve the problem.
•    Smallest volume dosed should be no less than 10% of syringe volume.

For more details, please also refer to General Information for PAL Smart Syringes.

Syringe Priming/Preparation

Metal plungers are much more sensitive than PTFE plungers and must never be used dry or with water. This can cause the plunger to size up and irreversibly damage the syringe after just a few cycles.

To prevent this from happening perform the following procedure every time after not using the syringe for more than 24 hours:
Fill the syringe slowly until halfway with Isopropanol (p.A. quality) or a solvent suitable to your application (p.A. quality). Wait until the air bubble underneath the plunger has settled. Then press the plunger down rapidly. Repeat this process 5 to 20 times.
It is very important to not fill the syringe too much during the first few repetitions. An exposed plunger combined with pushing the plunger by hand can lead to plunger bending very easily.

Correctly preparing your syringe is a necessity for your #PALSystem to provide reliable results when using a 10 µL metal plunger syringe.
In this brief instructional video, viewers will learn the essential steps to correctly prime a 10 µL metal plunger syringe for use.

Cleaning Process

CTC Analytics recommends cleaning the syringe by hand once per week.
Corrosion and residue collects in the part of the syringe that isn't used regularly. This residue causes the plunger to wedge, which after prolonged use without cleaning the syringe accordingly, leads to the plunger bending. This effect can be felt by carefully moving the plunger over its full length by hand.

To clean the syringe, slowly aspirate half of the syringe and move the plunger up and down. Then, while keeping the needle tip submerged in solvent, remove the plunger completely and clean it with a lint free cloth using an Isopropanol (p.A. quality) or a solvent suitable to your application. The initial aspiration of solvent aids with moveability of the plunger.
Afterwards, carefully reinsert and slowly push down the plunger. It is important to be especially careful when pushing down since the plunger is in a very vulnerable state when exposed.
To clean the residue that is stuck to the glass barrel, aspirate the full length of the syringe with an Isopropanol or a solvent suitable to your application (p.A. quality), then push the aspirated solvent out carefully. Do this for a minimum of 5 cycles.
Repeat this process until the plunger is able to move freely through the whole length of the syringe barrel.
If this can't be achieved the plunger of your syringe is likely going to break in the near future and you should think about replacing it.
If the recommended cleaning interval is ignored, the plunger can get stuck when trying to pull it out to clean. If this happens, grab the plunger close to the syringe and carefully push it down, while slowly turning the syringe. It is not possible to clean the whole syringe if this happens and the syringe will likely break in the near future.


Maintaining your syringe is one of the most important aspects to guarantee your #PALSystem can provide reliable results.
In this brief instructional video, viewers will learn the essential steps to correctly clean a 10 µL metal plunger syringe.
Contact LinkedIn